
Last updated November 16, 2026
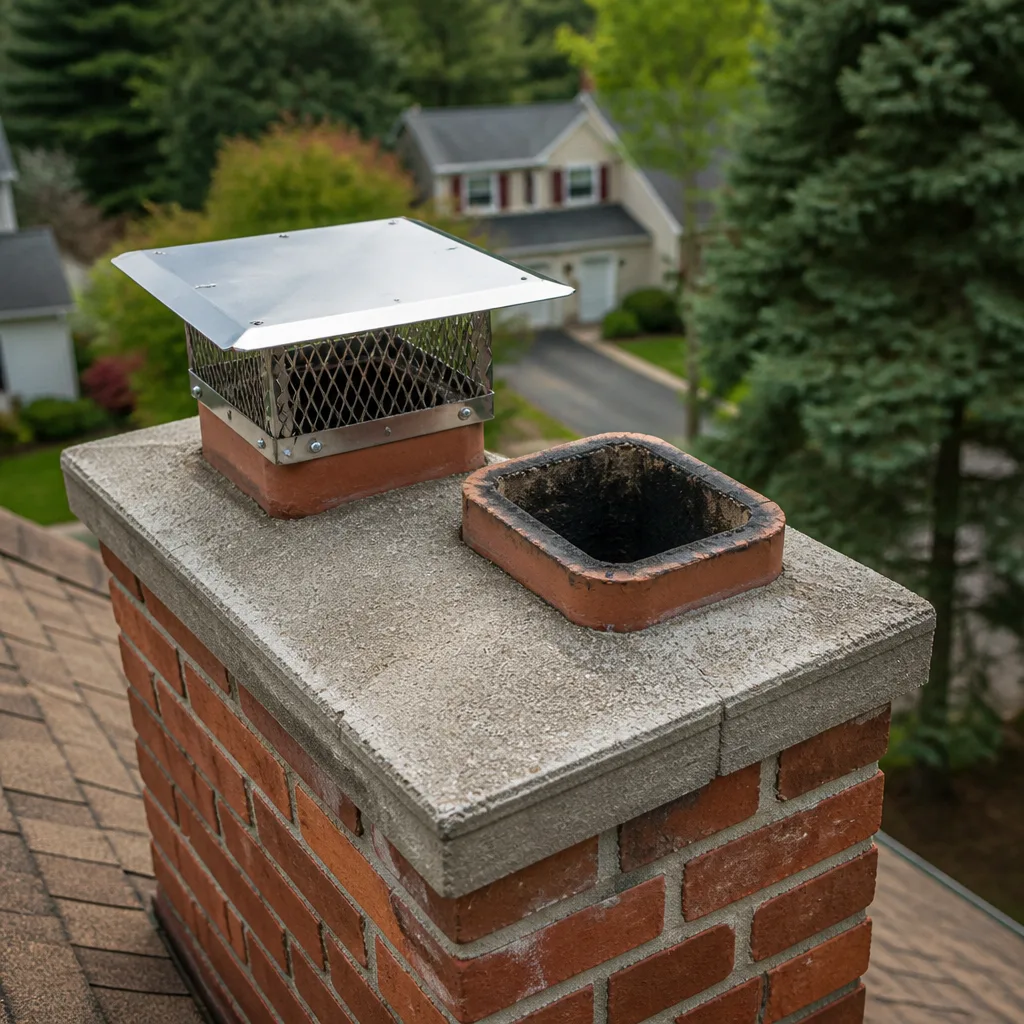 Sweep & inspection
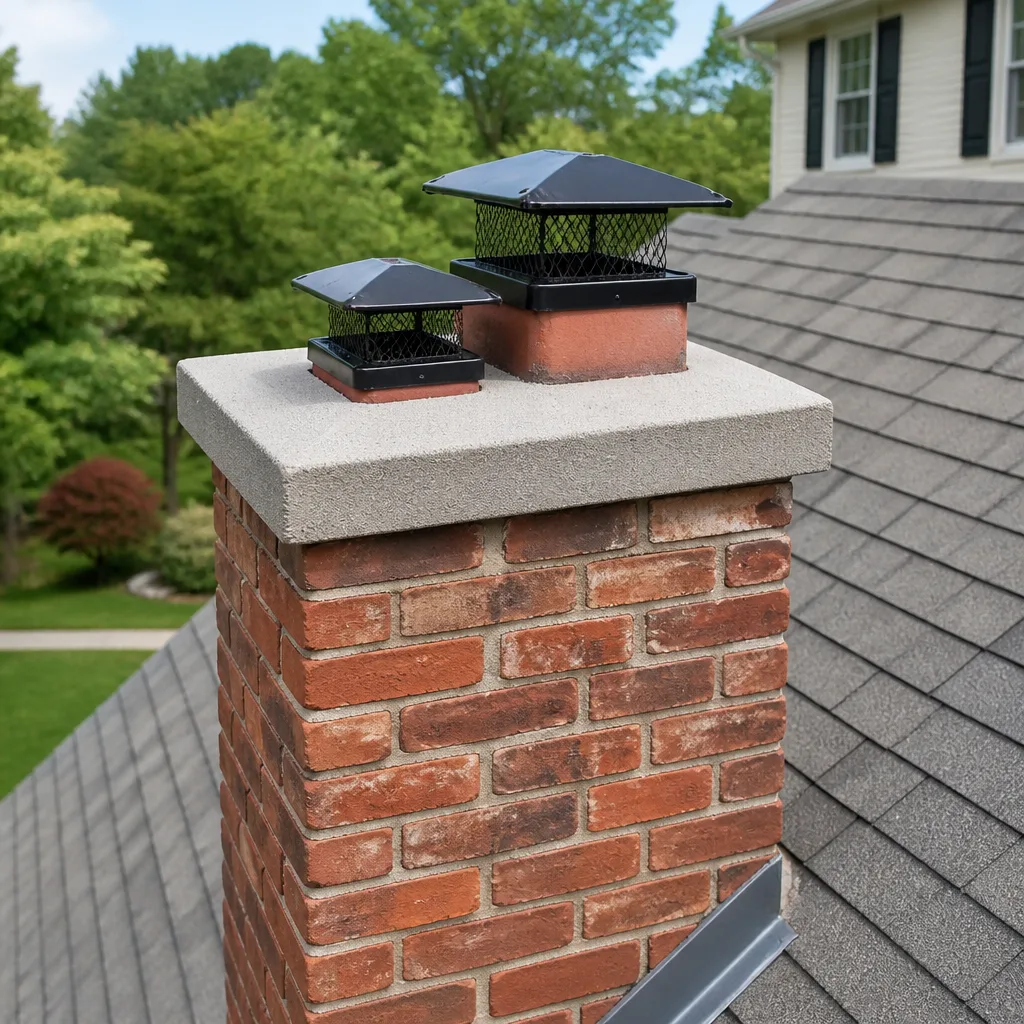 Caps & crowns
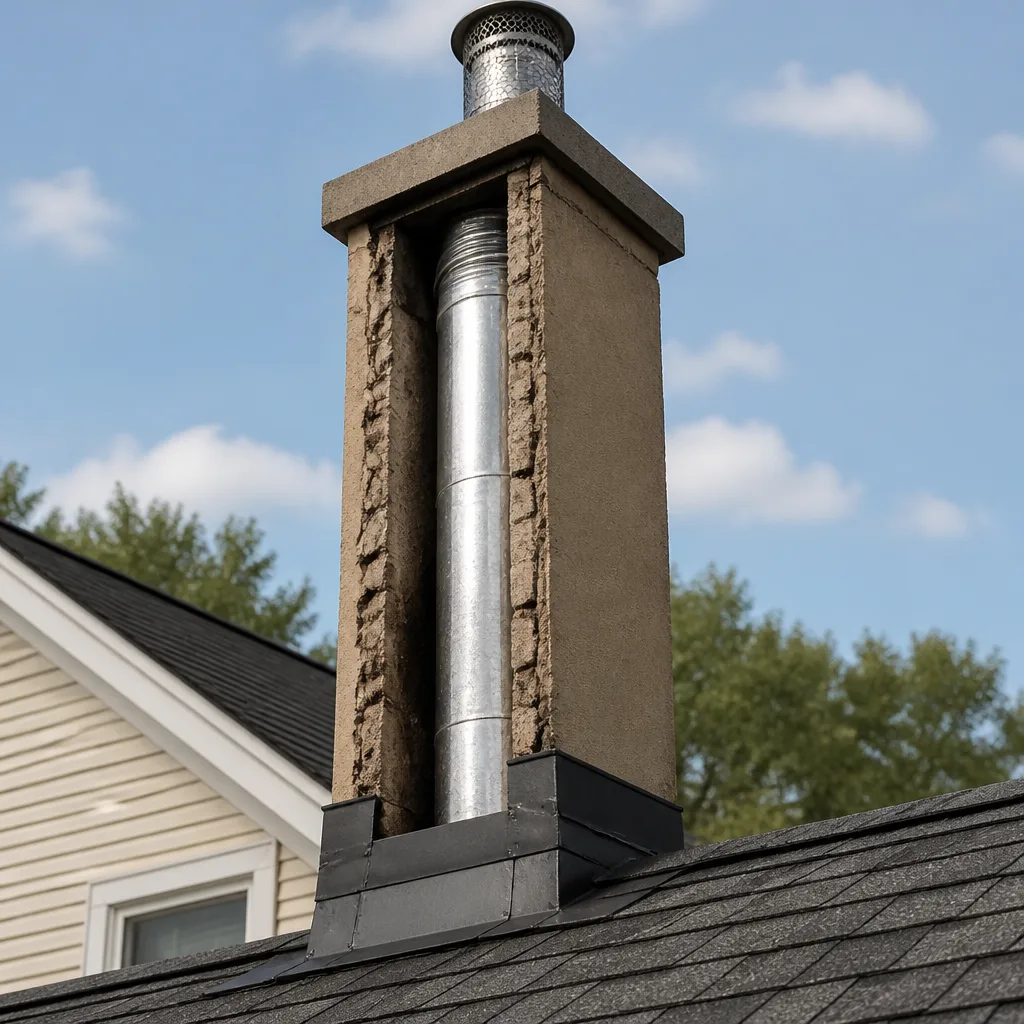 Flue relining
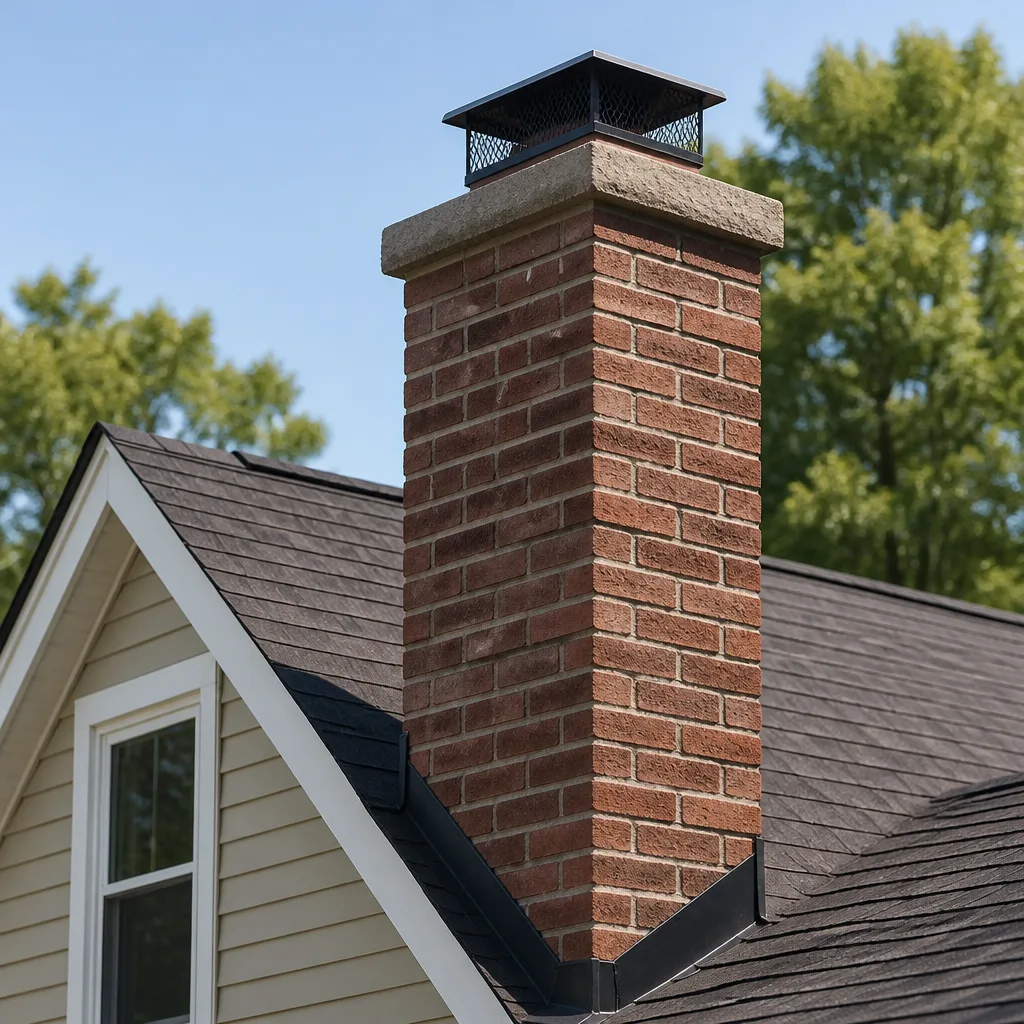 Masonry repair
 Gas fireplace service
Level 1 sweep and inspection to the NFPA 211 annual standard - flue, crown, cap, and flashing checked and photographed
Chimney sweep logs do not sweep chimneys. They loosen some creosote - which then falls where a brush and vacuum still have to collect it.
Chimney Sweep Maintenance Checklist for Stockton Homeowners
The most dangerous item on most chimney checklists is the one that gets checked off without being understood: “no visible blockages.” Visible from where, exactly? From the living room floor, a firebox opening tells you almost nothing about what’s happening a few feet up the flue. That’s why this Stockton guide is organized around what you can honestly self-inspect from the hearth versus what takes a trained eye, a camera, and a probe. You’ll get a pre-season checklist built for fireplaces that sit idle through Stockton’s 100°F+ summers, clear signs your chimney needs attention mid-season, and a post-season close-up list. By the end you’ll know what you’re actually looking at.
Quick Answer
A home chimney maintenance checklist for a Stockton homeowner has four parts: a pre-season inspection and sweep before the first fire, mid-season checks on draft and odor, an annual professional camera inspection of the flue, and a post-season close-up that keeps animals and moisture out through the hot months. What you can safely check yourself is what’s visible at the firebox and from the roof edge; what determines whether your flue is sound is what only a camera and probe can show.
Styles & brands we work with
- Sweep & inspection
- Caps & crowns
- Flue relining
- Masonry repair
- Gas fireplace service
Table of Contents
- Why a Stockton Chimney Needs a Seasonal Checklist
- Pre-Season Checklist Before the First Fire
- Reading the Smoke Chamber From the Firebox
- Mid-Season Indicators You Need More Frequent Cleaning
- Post-Season Close-Up Checklist
- What You Can Check vs. What Needs a Professional
- How a Professional Chimney Sweep Works in Stockton
- When a Checklist Item Becomes a Repair
Why a Stockton Chimney Needs a Seasonal Checklist
Stockton fireplaces live a split life. For roughly half the year they burn, and for the other half they sit closed up and unused while the valley heat climbs past 100°F for stretches at a time. That swing shapes what goes wrong in a chimney more than most homeowners expect. The masonry on the roof heats and cools hard through the summer, and those daily expansion cycles widen hairline cracks in mortar joints that a cooler, steadier climate wouldn’t work as aggressively. A chimney that looks fine in October may have opened small gaps over the summer that show up as a draft problem or a water stain the following winter.
The dormant months also create a housing problem. A dry, protected flue with a cap and no fire for months is a prime spot for birds and small animals to build nests, and those nests are exactly the kind of blockage that a quick look from the hearth will never reveal. When burn season returns and a homeowner starts a first fire, the flue has to push smoke past whatever accumulated over the summer. That’s why our pre-season checklist below comes first, and why it’s built around the summer dormancy rather than a cold-climate freeze concern that doesn’t apply here.
A seasonal rhythm also protects your own budget. A chimney that’s checked on a schedule gets small repairs while they’re still small. A chimney that’s checked only when something smells wrong usually gets looked at after a crack has had a season or two to spread. If you want the broader picture of how a focused repair relationship works, see our chimney repair page for what’s involved on the repair side.
Pre-Season Checklist Before the First Fire
Run this list in the weeks before you plan to light the first fire of the season. It’s a walk-around and a hands-on check, not a tool-heavy inspection, and it’s designed to catch the things that build up over Stockton’s hot, idle summer.
- Look up the outside of the chimney. From the ground, check the cap is still seated and the spark screen isn’t torn or pushed in. A loose or missing cap is the open door that lets birds, squirrels, and rain into the flue all summer.
- Check the crown and the roofline. The concrete crown on top of the chimney should shed water away from the flue, not pool it. Look for visible cracking or crumbling at the crown and for any staining on the roof decking around the chase.
- Scan the mortar joints you can reach. Look at the chimney’s visible masonry and the firebox surround for crumbling mortar. A small screwdriver pressed gently into a joint should feel firm, not sandy.
- Confirm the damper opens and closes fully. A damper that sticks half-open or won’t seat is a draft and heat-loss problem. Work it a few times before the season starts.
- Check for animal activity. Listen and look at the firebox and the top of the chimney for nesting material, droppings, or the singsong of a bird that’s moved in. Never reach blindly up into a flue to remove a nest.
- Look for glaze on the damper throat. Shine a light up and around the damper opening for a black, shiny, tar-like coating. That glaze is creosote that’s gone past the fluffy stage, and it’s a sign a sweep is due before you burn again.
- Clear the hearth zone. Move rugs, kindling, and furniture back from the firebox opening, and confirm the firebox screen or doors close properly.
If any of items one through six turns up something you can’t explain, that’s the point to stop and book an inspection rather than light a test fire to see what happens. The whole purpose of a pre-season check is to make the first fire a safe one.
Reading the Smoke Chamber From the Firebox
You can learn a surprising amount from the firebox opening without climbing anything or owning a camera. The smoke chamber is the sloped space just above the damper that funnels smoke into the flue, and the surfaces you can see when you shine a strong flashlight up and over the damper tell a story about how the chimney has been burning.
- Even, dry, dusty soot: Normal. This is the soot that a routine sweep clears, and it’s the state you want to find.
- Shiny, black, tar-like glaze: Creosote that has glazed over. It’s harder to remove, and in a cool flue it’s the kind of buildup that feeds a chimney fire. This calls for a professional sweep, not a homeowner brush.
- White, chalky staining on the masonry or firebox walls: A sign moisture has been moving through the masonry. Look at the outside of the chimney at the same time; if you see matching staining up the exterior, water is getting in through the crown, the cap, or a failing joint.
- Crumbling or missing mortar in the smoke chamber: The sloped walls above the damper can lose mortar over time. If chunks are flaking off where you can see them, the chamber above likely needs professional restoration, not just sweeping.
- Rust or corrosion on the damper: Usually moisture. A damper that’s rusted stiff is a diagnostic clue as much as a functional problem.
Look but don’t reach. The smoke chamber is a confined space, and anything above the damper is a job for a trained technician with the right tools. What your flashlight shows you is enough to know whether you’re looking at routine soot or something that needs a professional diagnosis. That distinction is the whole value of the check.
Mid-Season Indicators You Need More Frequent Cleaning
Most Stockton chimneys settle into a once-a-year cleaning routine. But some homes burn enough, or burn badly enough, that the schedule needs to tighten mid-season. Three signals tell you to clean sooner rather than wait for the annual sweep.
- The smell changes. A healthy chimney smells faintly of wood smoke and ash. A sharp, acrid, or chemical smell, especially one that gets worse when the fire is out and the house warms up in the afternoon, usually means creosote buildup is off-gassing. Don’t mask it with a room fragrance; treat it as a cleaning signal.
- Draw gets harder. If smoke starts rolling out of the firebox opening when you light a fire, or the fire is slow to catch where it used to roar, the flue is telling you airflow is being restricted. Check the damper is fully open first, then look at the flue as a cleaning candidate.
- You can see glaze on the damper throat. A shiny black coating on the damper and the smoke chamber surfaces is the most reliable mid-season cue that your cleaning interval should shorten. It gets harder to remove the longer it sits.
There’s a fourth, quieter signal that matters in Stockton’s hot summers: ash and creosote left in the firebox through a long hot stretch can react with moisture and heat to produce odors that drift into the house even with no fire lit. If your fireplace starts smelling in the shoulder season, it’s often a sign the flue needed cleaning before the season ended. For a sense of what a professional cleaning covers, the chimney sweep service page walks through the process step by step.
Post-Season Close-Up Checklist
Once you’ve stopped burning for the year, the chimney needs a few steps to protect it through Stockton’s spring and summer. This is the checklist that most homeowners skip, and it’s the one that prevents the pre-season problems listed above.
- Empty the ash pan, but leave a little ash on the firebox floor. A thin layer of ash protects the firebox brick. Pile-up, though, holds moisture and odor all summer. Remove the bulk.
- Close the damper. A closed damper keeps hot summer air from moving up the flue and, more importantly, keeps animals and pollen from coming down. Confirm it seats fully.
- Fit a proper cap. If the cap is damaged or missing, a new one before summer prevents the animal nesting problem. We fit Gelco caps sized and sealed to the flue opening for that exact reason.
- Check the crown and flashings one more time. Spring is the season to catch winter damage and sunshine-driven cracking. A crown that’s cracked now will leak all summer.
- Look for water staining inside the firebox. A dark ring or musty smell at the firebox floor is a sign of moisture intrusion that happened during the burn season. That’s a repair item to address before it gets worse.
- Schedule the professional inspection. Booking your camera inspection at the end of the season means you know what state the flue is in before summer and can plan repairs with no pressure to finish before the next fire.
If your neighborhood or home sits higher up in the valley or close to one of the tree-heavy areas around the city, be a little more diligent about the cap check. Trees close to the house bring leaves and the animals that use them. A screen that held all winter can end the summer with a comfortable tenant inside.
What You Can Check vs. What Needs a Professional
The distinction that matters most in this whole checklist is between observation and inspection. Observation is what you can safely see and feel from the firebox and the ground. Inspection is what a trained technician establishes with a camera, a probe, and the trained eye to interpret both. Here’s how to separate them.
- Homeowner-observable: cap and screen condition from the ground; crown and mortar condition you can see; damper operation; exterior staining on the chimney or roof; odor; draft resistance; visible glaze on the damper throat; visible soot color in the firebox.
- Requires a camera inspection: the condition of the inner flue and the mortar joints inside the flue; the presence of creosote at the third-degree glaze stage inside the flue; hairline cracks in the flue tiles; blockages well up the stack; the state of the smoke shelf and the smoke chamber above the damper.
- Requires a professional probe: whether a mortar joint has gone soft to the depth that it needs to be addressed; whether a cracked tile is a surface issue or a structural one; whether a liner is at the end of its service life.
This is why we inspect before we recommend anything. A checklist you do yourself is worth doing, and it will catch the obvious things. But the answer to “is my flue actually safe” is a camera and a trained eye, not a flashlight from the hearth floor. Our technicians have up to 13 years of experience reading exactly that difference.
One more reason the division matters: scope of work. A crack you can see from the firebox and a crack only the camera finds lead to different repairs. A focused chimney repair company uses the inspection evidence to decide whether a flue needs a full liner or can be restored, rather than recommending the biggest job by default.
How a Professional Chimney Sweep Works in Stockton
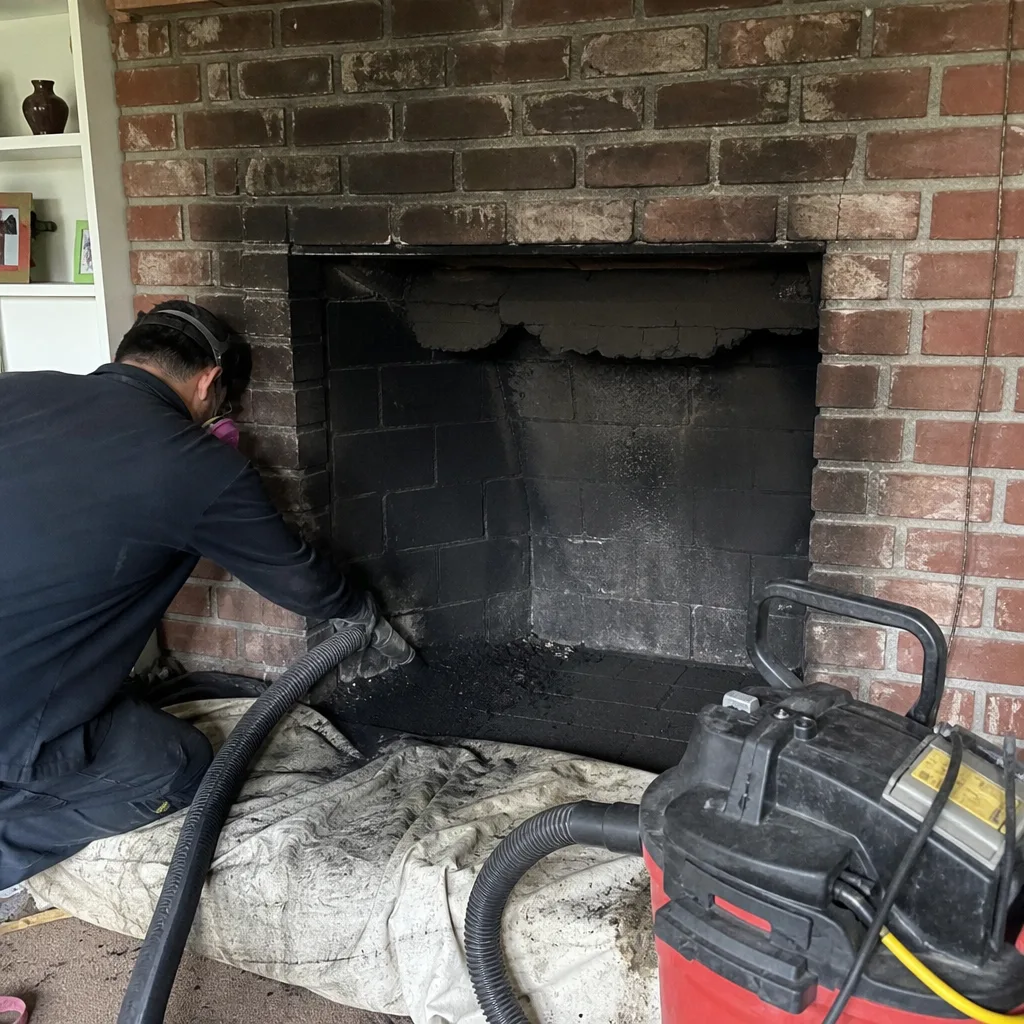
A modern professional sweep is a controlled, contained process. The tools and the setup mean very little soot ends up in the room, and the inspection that makes the sweep useful is built into the visit.
- Protection first. Drop cloths or sheeting go down around the hearth before anything runs up the flue.
- Containment and drafting. A vacuum and a sealed sweep system are set at the firebox opening so that everything dislodged travels out of the flue rather than into the room.
- Cleaning the full run. Brushes sized to the flue work from the firebox up, and from the roof or top access down, to clear soot and creosote from the smoke chamber through the cap.
- Documentation. A professional-grade camera is run up the flue and the condition is documented, with a photo report of what was found. That report is what any repair recommendation gets based on.
- Assessment. The technician tells you what the camera showed and what, if anything, needs to be done and in what order. The recommendation should be specific to your flue, not a generic line item.
At the top end, a sweep is also the moment to check the cap, the crown, and the top of the liner. We use professional-grade components from the brands we carry, from the venting side down to the cap, so a full run can be cleaned, inspected, and repaired within a single relationship rather than being handed between subcontractors. That matters when a problem found in the flue needs a liner restored before the next burn season.
When a Checklist Item Becomes a Repair
A lot of checklist items stay in the “keep an eye on it” column. Others cross the line into a repair. The line is usually evidence: a crack the camera can see, a joint that has gone soft to the probe, a flue that no longer holds its shape. A specialist’s job is to tell you which category a finding falls into, and honestly explain when something can wait.
When a flue defect is there, there are usually two paths. A full liner replacement uses a flexible liner system like DuraFlex to reline a flue that’s compromised or that doesn’t match the appliance, without tearing apart the masonry. A ceramic restoration like HeatShield resurfaces the existing flue where the tile is intact enough to accept it, which can extend the flue’s life and keep the original masonry in place. Both are code-compliant options in the right situation; neither is right for every flue. The decision comes down to what the inspection actually shows, which is why we don’t recommend either before you can see the evidence.
We also handle the smaller repair items the checklist turns up: a damaged cap replaced with a properly sized Gelco unit, venting components from Olympia Chimney and Famco replaced where the draw is failing, and the copperwork and caps where the top of a chase has reached the end of its life. Every one of those is a repair that a focused Stockton Chimney Sweep relationship handles, not a patch that a generalist applies and moves on from.
Common Mistakes to Avoid
- Treating a flashlight look as a full inspection. A clear view of the firebox doesn’t tell you the state of the flue above it. Assume any checklist item above the damper needs a camera before you call it clean.
- Skipping the post-season close-up. In a Stockton summer, an uncapped flue is an open invitation to nesting animals for months. The close-up is what prevents the pre-season problem.
- Burning trash or wrappers. Paper, plastics, and cardboard burn hot and produce creosote and residue fast. A wood-burning fireplace should only burn dry, seasoned wood.
- Masking fireplace odor with a scent. A strong smell from the firebox usually means creosote or moisture, not a dirty rug. Treat the odor as a signal, then find the cause.
- Assuming a generalist is a chimney specialist. A handyman who sweeps on the side will check the obvious and miss the camera-visible defects. A focused specialist is working one trade all the way through.
- Letting a minor crack wait through the summer. Warm-weather expansion cycles widen hairline cracks over the dry months. A crack found in spring is usually smaller than the same crack found in fall.
- Lighting a test fire to diagnose a draft problem. If the draw is weak or smoke rolls out, the biggest risk is smoke in the house or a flue problem under load. Diagnose it cold, with the flue inspected, not with a match.
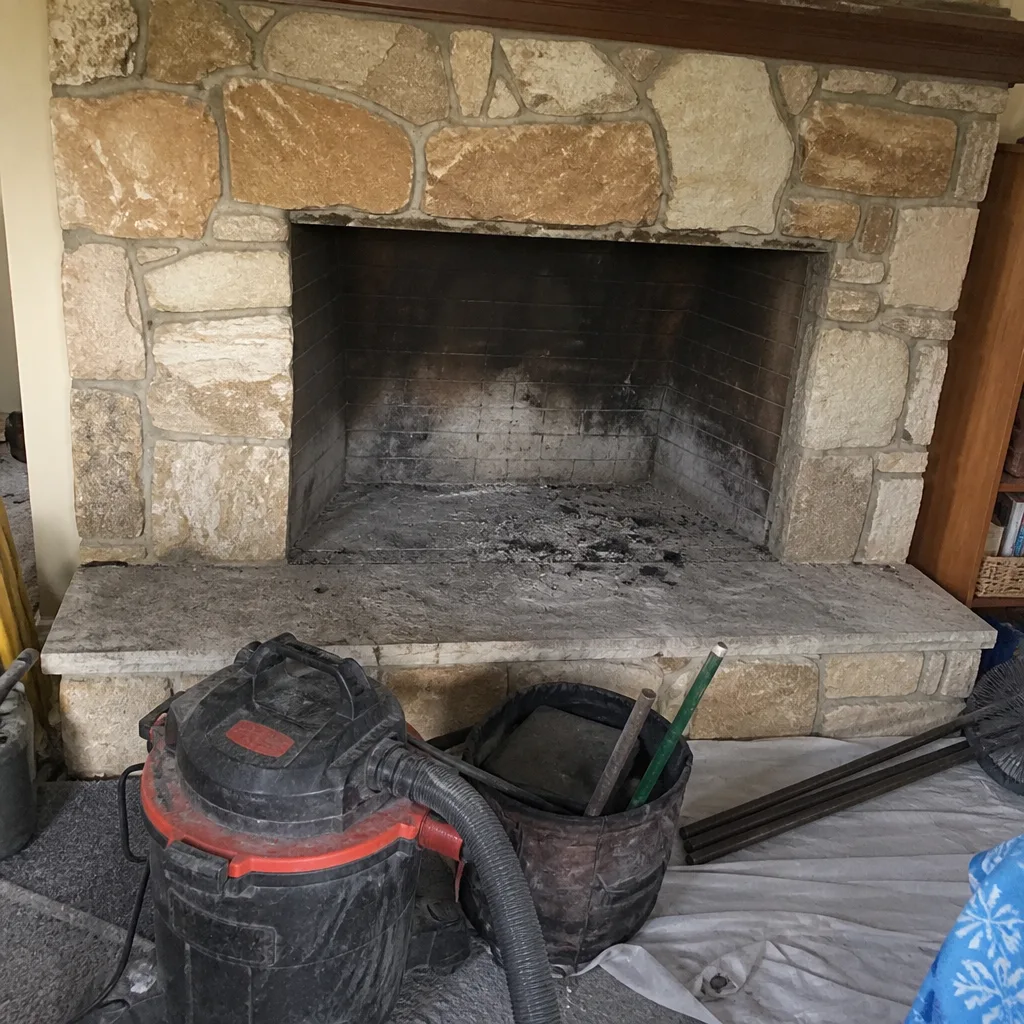
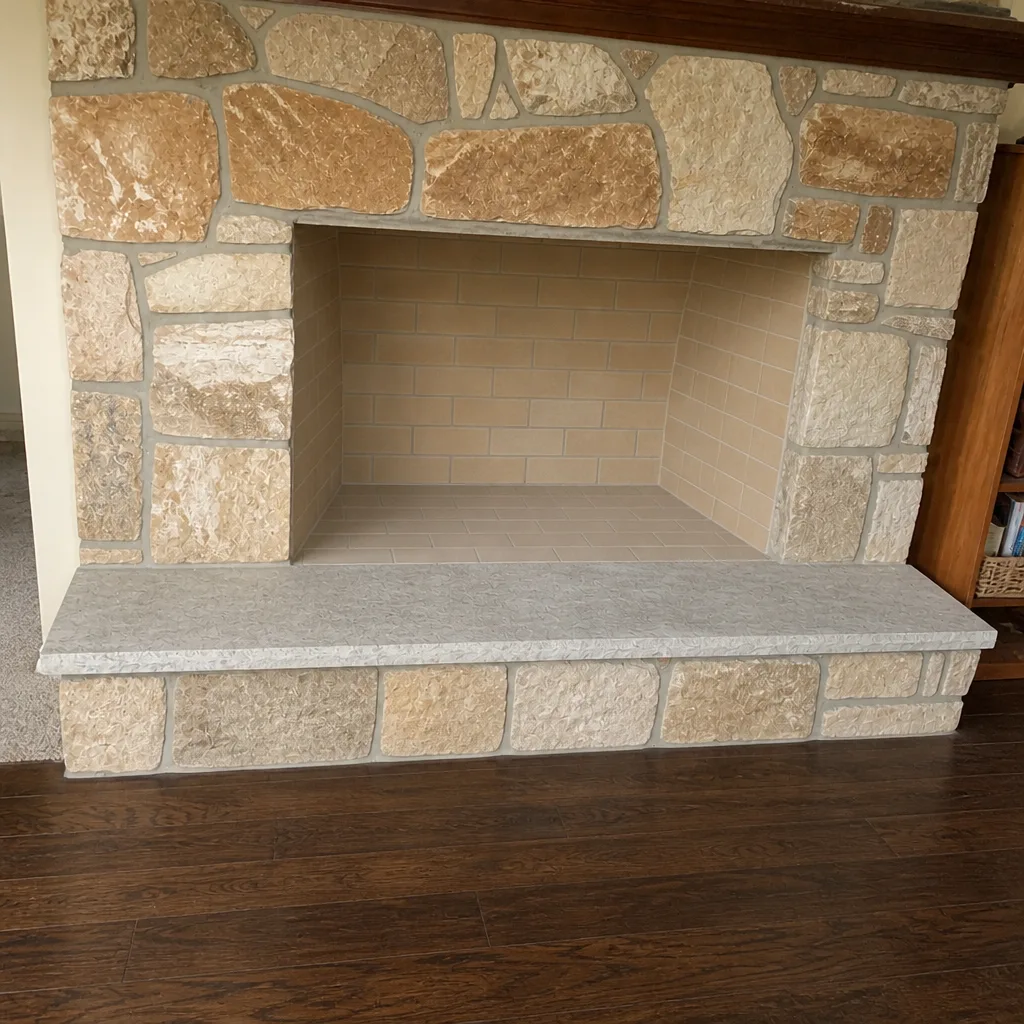
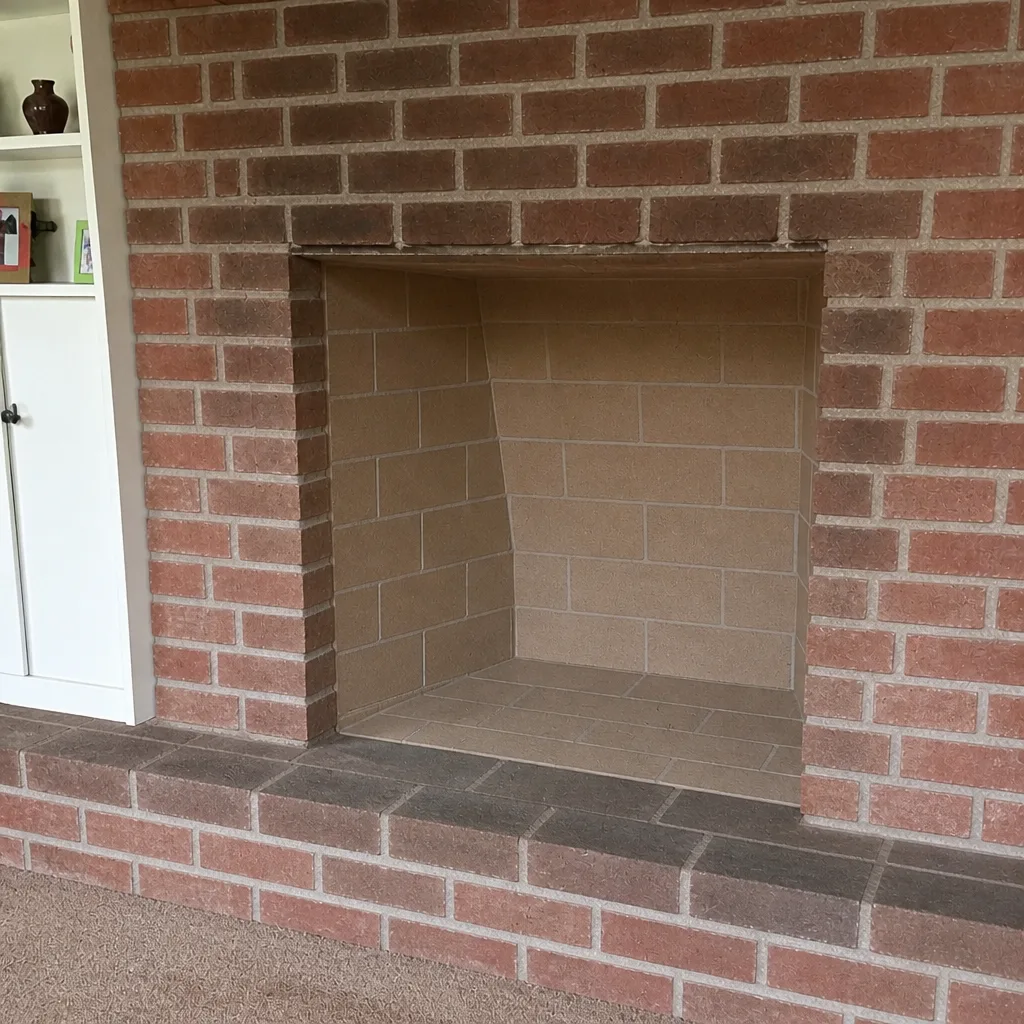
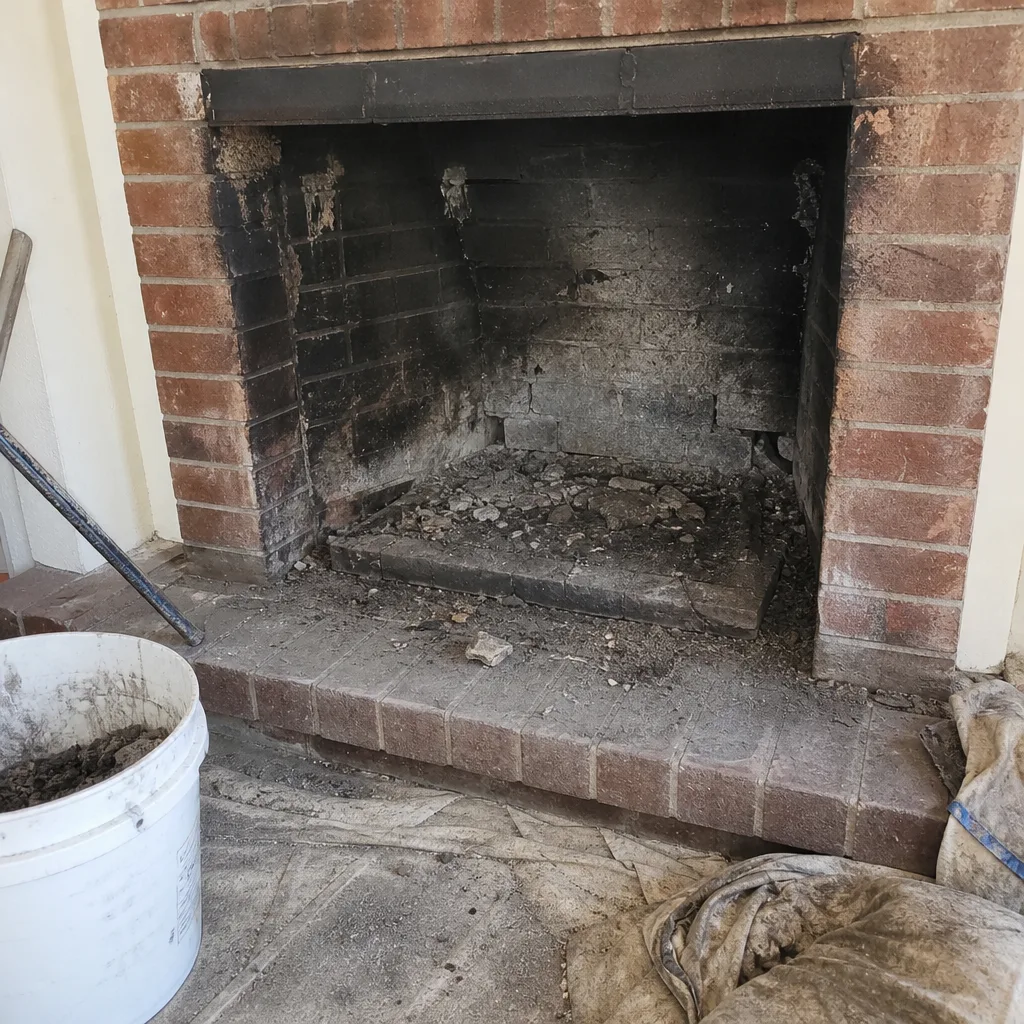
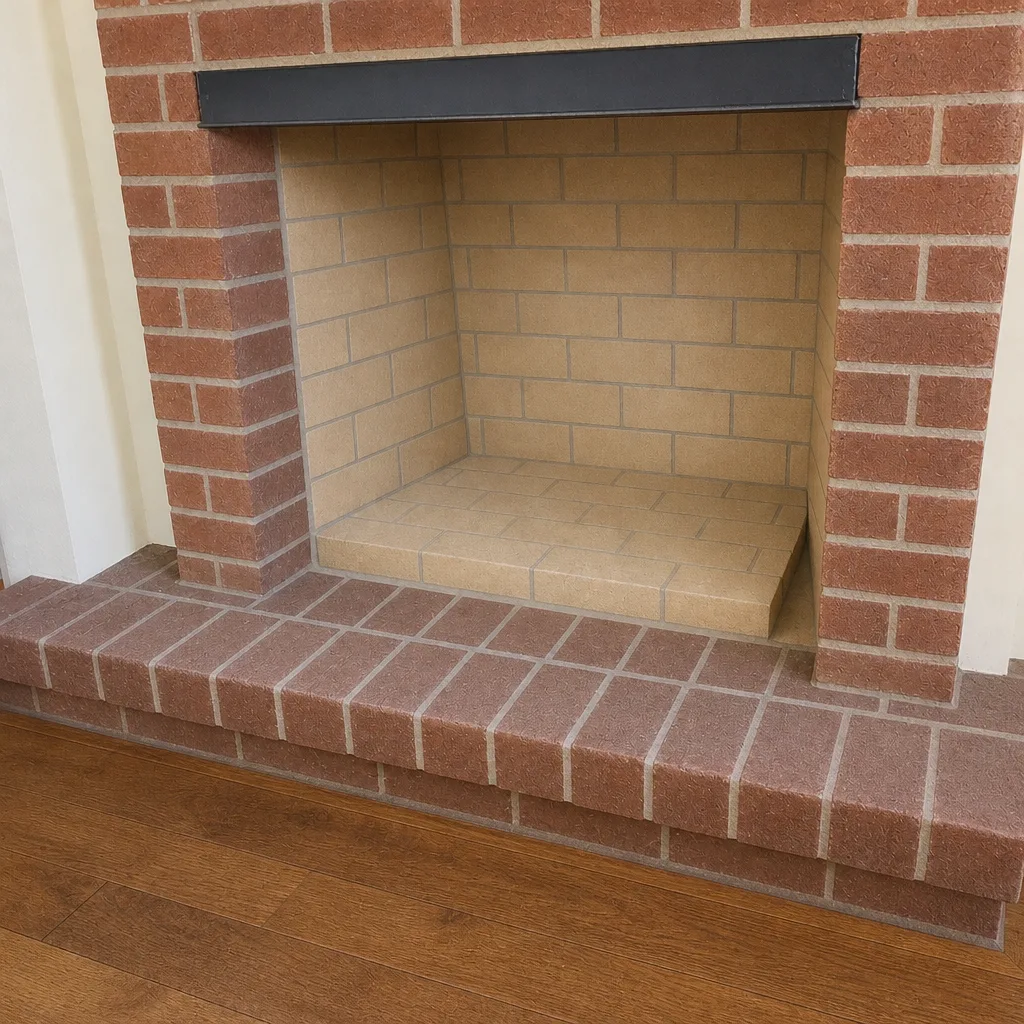
See the difference
 Before
 After
 Before
 After
 Before
 After
When to Call a Professional
Call for a professional inspection when you find any of the beyond-the-checklist signals: a shiny black glaze on the damper throat, a sharp odor that doesn’t clear, smoke rolling into the room, crumbling mortar in the smoke chamber, a damaged cap you can’t get to, or a firebox showing water staining. Also call if you haven’t had the flue cleaned in a full season of burning, or if you’ve just bought a Stockton home and don’t know the maintenance history of its fireplace. Nesting material found in the firebox is a professional-removal job, not a reach-in. Stockton Chimney Sweep offers free estimates in Stockton and we inspect first, so any recommendation is based on camera evidence you can see. Call (877) 516-9568. We answer 24/7. Fast dispatch from 7am to 7pm, Sunday through Friday.
Frequently Asked Questions
Once a year is the routine for most homes that burn regularly through the winter, and more often if you see glaze on the damper throat, smell a sharp odor, or notice difficulty drawing. A sweep timed before the first fire of the season is the simplest pattern to hold. Call (877) 516-9568 for an exact quote. Estimates are free.
Not always, and only an inspection can tell you. A full liner with DuraFlex is the right answer when the flue is compromised or doesn’t match the appliance, while a HeatShield ceramic restoration can resurface a flue that’s still structurally intact. We recommend neither before the camera evidence shows which one your flue actually needs. Call (877) 516-9568 to book an inspection – the estimate is free.
Yes, the observable half of it. Cap condition, damper operation, exterior stains, odor, draft resistance, and glaze on the damper throat are safe homeowner checks. The state of the inner flue and the smoke chamber needs a camera and a trained eye. Call (877) 516-9568 to book the professional half. Estimates are free.
Creosote builds up inside the flue, and glazed creosote is the fuel a chimney fire needs, while a blocked or damaged flue can push carbon monoxide back into the house. We’re not going to overstate it – most chimneys are fine with routine sweeps – but the risk is real and the inspection is cheap protection. Call (877) 516-9568 for a free estimate.
Because the combination of leftover creosote or ash and warm, humid air releases odor into the house, usually with the damper closed and no airflow to clear it. A post-season cleaning and a properly fitted cap address the cause in most cases. Call (877) 516-9568 to get it handled before next season.
Yes, and it’s the single most common summer issue we see in this climate. A dry flue left open for months is a prime nesting spot for birds and small animals, and the nest becomes a blockage the first time you light a fire. A properly sized Gelco cap closes that loop. Call (877) 516-9568 for a free estimate on a new cap.
The Bottom Line
A fireplace checklist is only as good as the honesty behind it. Check what you can safely see: the cap, the crown, the damper, the odor, the draw, and the glaze at the damper throat. Then book the camera inspection that answers what you can’t see. Run the pre-season list before the first fire, watch the mid-season signals, and do the post-season close-up so Stockton’s hot, idle summer doesn’t become a nesting season for your flue. The checklist protects your home best when it’s paired with an inspection and professional-grade materials such as DuraFlex and HeatShield, chosen for your specific flue rather than by default.
When you’re ready to know exactly what state your chimney is in, call Stockton Chimney Sweep at (877) 516-9568 for a free estimate. We’re chimney-only specialists, our technicians have up to 13 years of experience, and every recommendation starts with a camera inspection and photo report of what we found before we suggest any repair.
Written by the team at Stockton Chimney Sweep.